
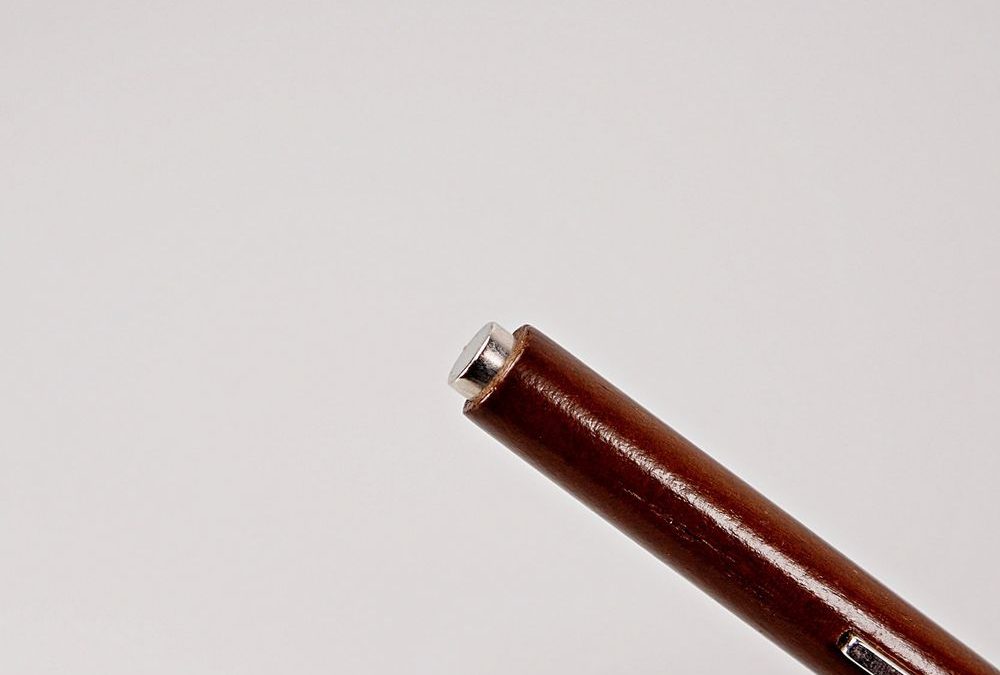
You know the feeling: you spend time layering gel polish, cure like a pro, then the cat-eye band is timid, off-center, or uneven. For busy people who do their own nails, inconsistent magnetic pulls mean wasted polish, extra filing, and a manicure that doesn’t photograph well. The Multi-Functional Wooden Handle Pen — a dark wood brown, dual-head cat-eye magnet with chrome ends — is built to fix that. Below are clear signs you need this tool, and step-by-step technique notes so you get repeatable, salon-level banding every time.
1. Your cat-eye stripe drifts off center
Sign: The bright reflective band lands too close to the cuticle or wanders toward the sidewall instead of running down the middle. That happens when your magnet position or angle is inconsistent.
How this pen fixes it: The Multi-Functional Wooden Handle Pen gives you a steady, ergonomic grip thanks to its dark wood brown handle. Hold the pen like a brush: thumb and index finger near the chrome collar, rest the barrel across the middle finger for balance. Use the cylindrical head to create a narrow, centered pull by hovering it parallel to the nail and aligning the magnet’s long axis with the desired band. Because the wood grip reduces hand tremor and keeps the magnet at a predictable distance, the shimmer consistently gathers where you want it.
2. Your band is fuzzy or indistinct
Sign: Instead of a crisp line you get a soft, muddy glow—especially on sheer jelly bases with fine micro-shimmer. That’s usually caused by weak magnetism, incorrect hovering distance, or moving the magnet too quickly.
How this pen fixes it: This tool uses a strong magnetic field engineered to pull iron particles cleanly. Pick the rectangular head for a wide, sharp bar (the pen’s dual-head engineering lets you switch shapes fast). Hover the magnet 2–3mm above the wet cat-eye gel and hold still for 5–10 seconds. The stronger field gathers pigment quickly, so you avoid the motion that blurs edges. The chrome tips concentrate the flux, producing a distinct band on translucent, glossy gels.
3. You can’t reproduce the same look across all nails
Sign: Thumbs look dramatic but your pinkies barely register a stripe. Uneven results often come from inconsistent timing or head choice for nail shape and length.
How this pen fixes it: Create a simple, repeatable workflow: (a) apply base and cat-eye gel, (b) choose head (cylindrical for narrow lines, rectangular for wide light), (c) hover at the same 2–3mm distance, (d) hold 5–10 seconds then cure. The pen’s compact, balanced weight helps you maintain the same posture across nails, and the dual-head design gives you two magnetic geometries without swapping tools. Follow the checklist below for fast consistency.
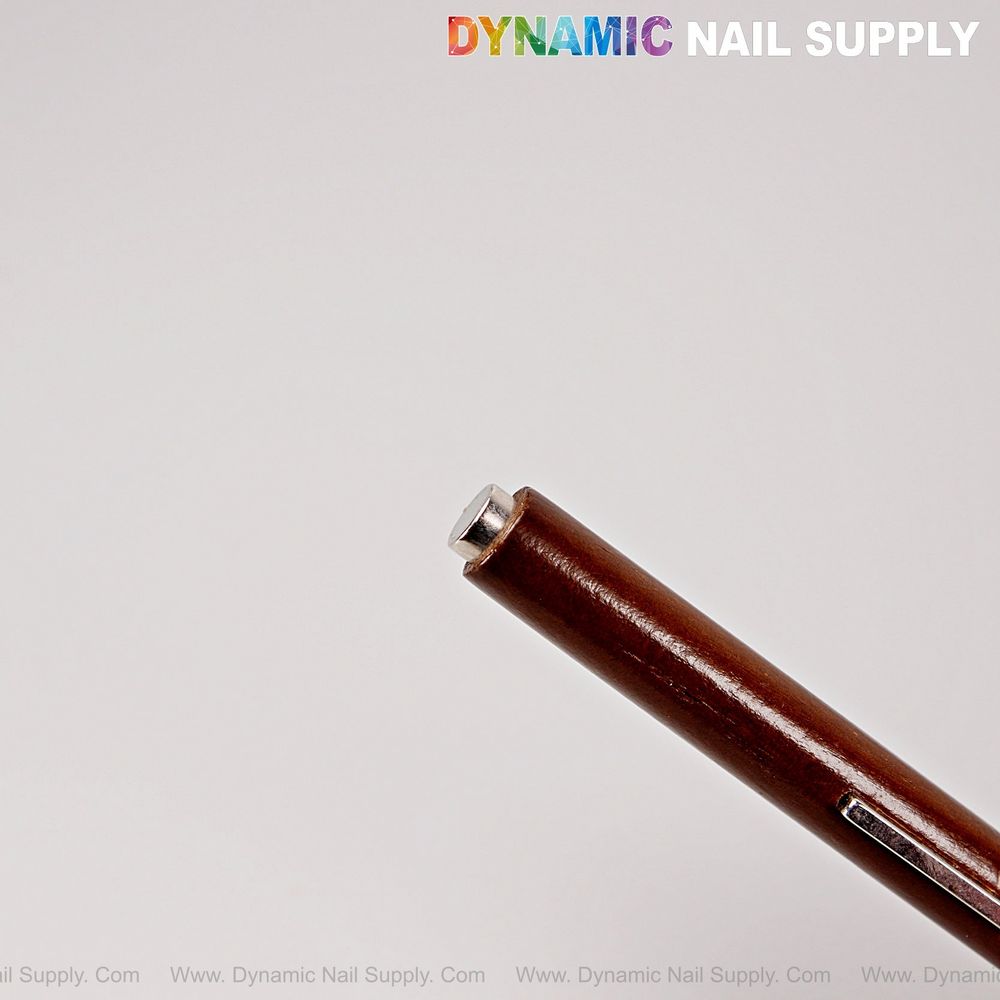
Checklist: Repeatable Steps For Consistent Cat-Eye Banding
- Apply base color and cure as needed.
- Paint a smooth, even layer of cat-eye gel; do not cure.
- Select magnet head (cylindrical for centered thin band; rectangular for wide light).
- Hover magnet 2–3mm above the wet surface—steady and parallel to the nail.
- Hold 5–10 seconds without moving, then immediately cure the gel.
- Seal with a top coat and cure according to the manufacturer.
Want the exact tool used in these steps: wooden handle cat eye pen
4. You need better control for short or natural nails
Sign: Small nail beds and short tips make it hard to position a bulky magnet without hitting the skin or lamp. That can ruin a design or cause discomfort.
How this pen fixes it: The pen’s wood-textured handle and compact length let you work close to the nail without obstructing sightlines. Use gentle tilts of the cylindrical head to create diagonal or off-center lines on shorter nails; the precise magnet placement—combined with the steady grip—reduces accidental contact. Because the pen is travel-size, you can also carry it in your kit and practice angles without crowding your workspace.
5. You want multiple cat-eye effects without swapping tools
Sign: You like variety—wide light, velvet arc, subtle diagonal bands—but hate juggling several magnet bars between lamps and clients.
How this pen fixes it: The Multi-Functional Wooden Handle Pen is a true multi-use tool. The dual-head system gives two distinct magnetic fields in one piece: cylindrical for punchy lines, rectangular for broad light. That versatility speeds up service and keeps your station cleaner. It’s especially handy when you’re doing sets that blend sheer jelly finishes in a pink palette—deep rose to pale blush—because you can toggle heads to match the intensity you want without changing weight or balance in your hand.
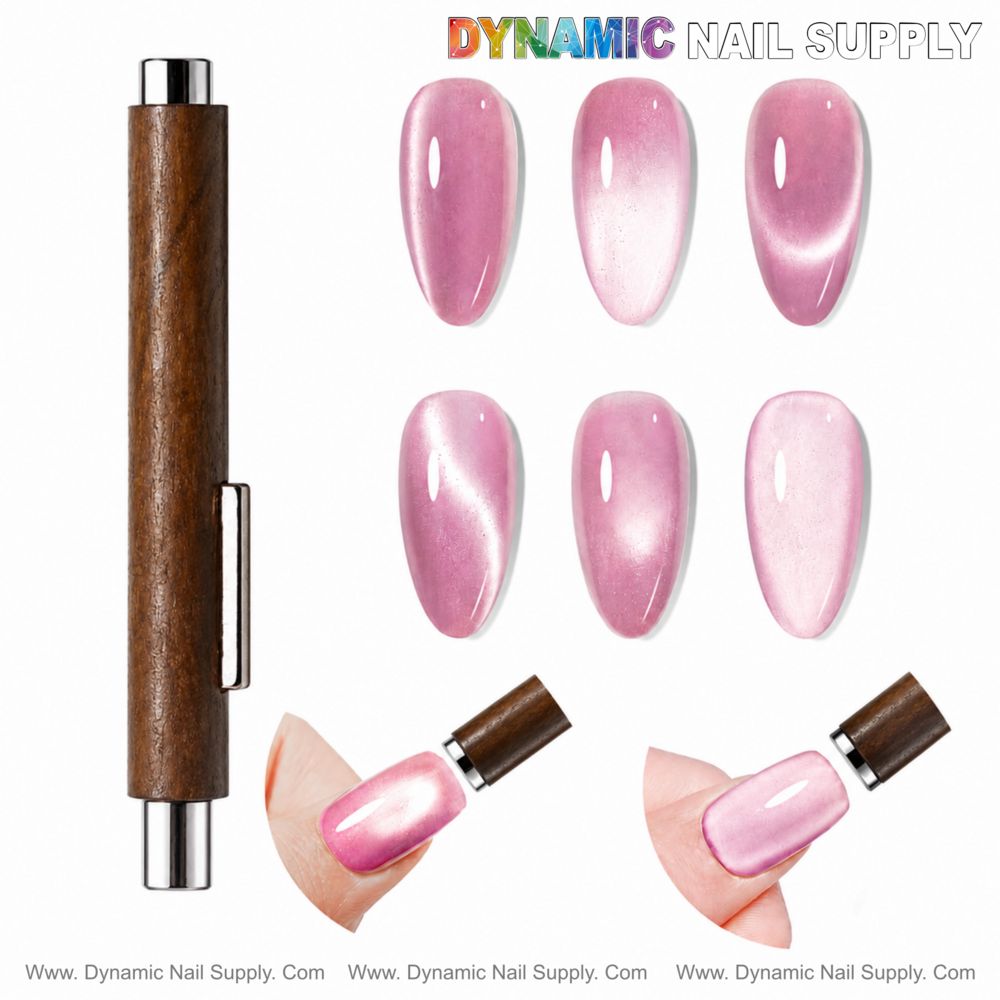
6. Timing and curing issues throw off your workflow
Sign: You find yourself redoing nails because you cured too early or waited too long after the magnet pull, and the shimmer shifts unpredictably.
How this pen fixes it: Use the pen’s predictable pull time as a timing anchor for your curing routine. Hold the magnet for the recommended 5–10 seconds; when you remove it, cure immediately. The pen’s strong pull concentrates pigments quickly so you don’t need prolonged delays that invite smudging. That steadiness is a small workflow change that saves minutes during back-to-back sets.
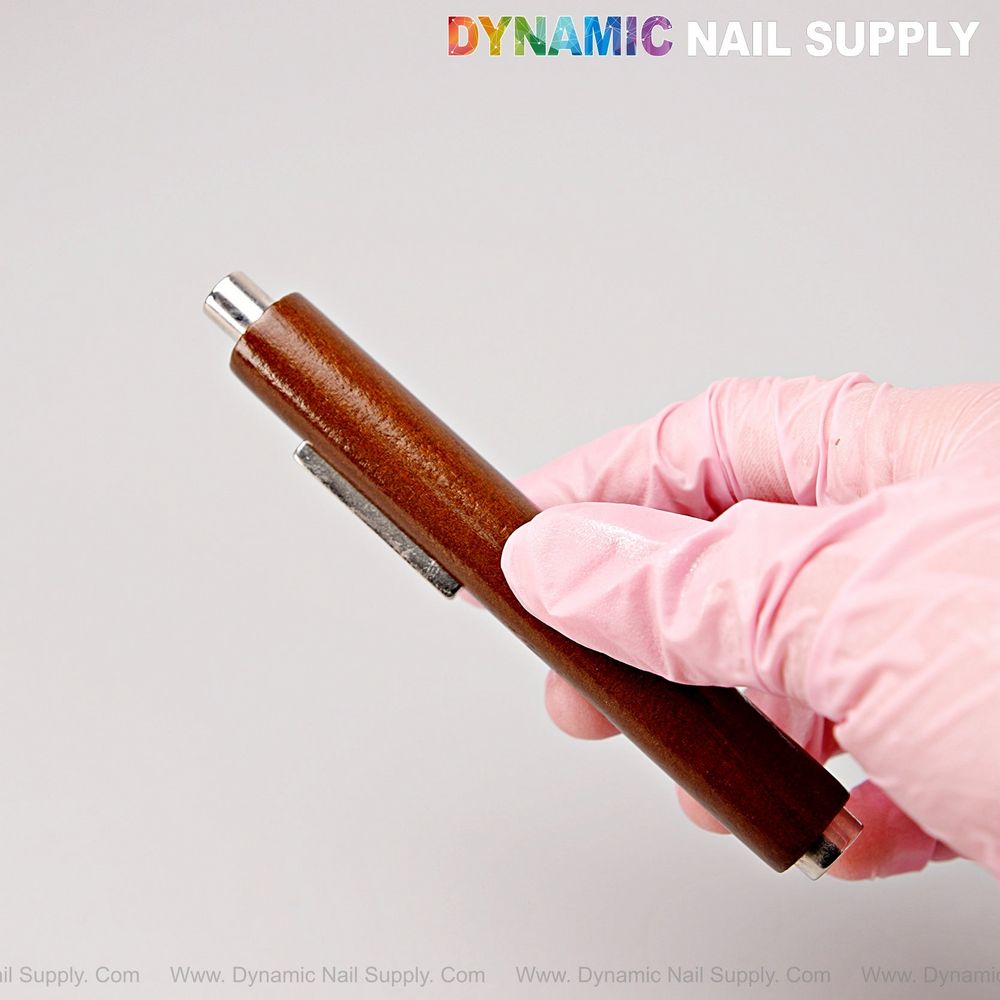
Quick technique reminders and safety
Safety and care: Keep magnets away from electronic devices and pacemakers. Avoid dropping the pen on cured nails to prevent chipping. Clean the chrome ends with a lint-free cloth; don’t soak the wooden handle to protect the finish. Store it with the magnet heads facing away from metal tools to preserve magnetic strength.
Final care note: Treat your Multi-Functional Wooden Handle Pen like a precision tool—steady grip, consistent hover distance, and immediate cure after pulling. With practice, you’ll cut rescue time, reduce wasted gel, and deliver clean, repeatable cat-eye banding across every nail. Always handle magnets responsibly and keep them clear of electronics and sensitive medical devices.