
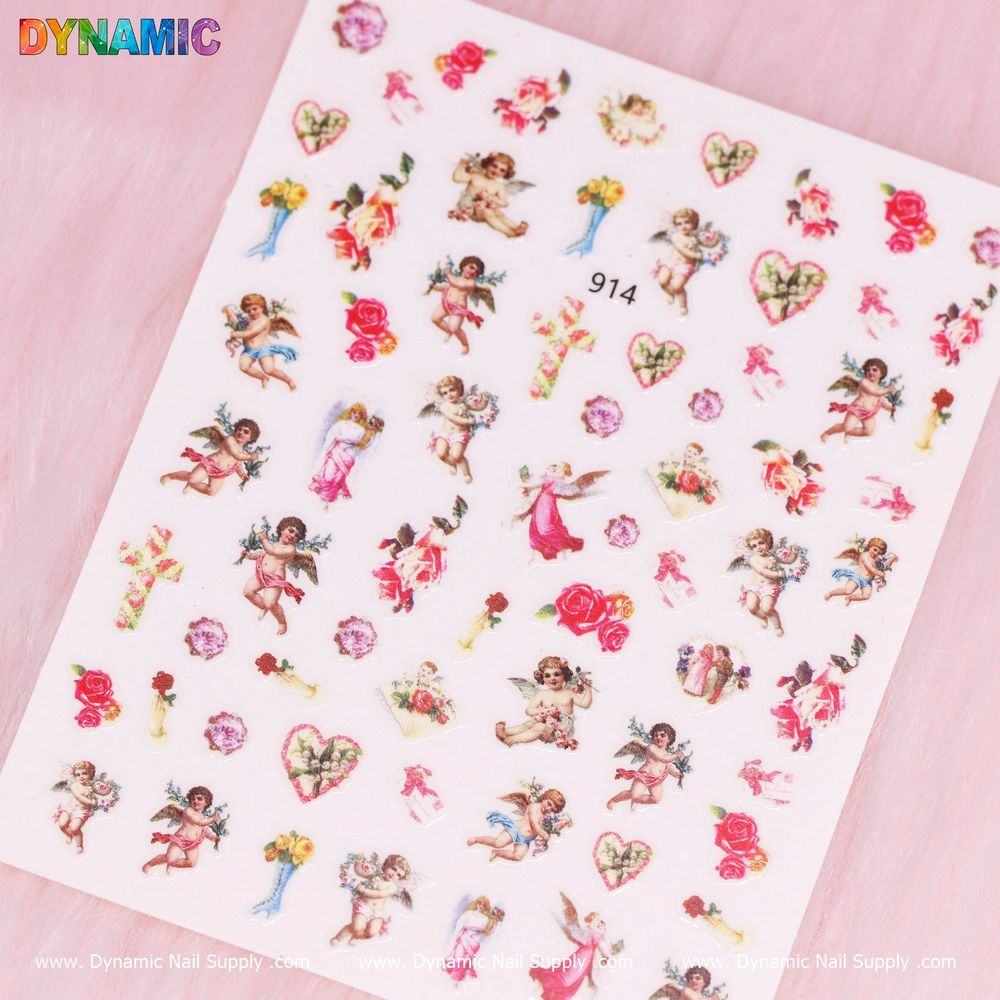
Small decorative stickers can turn plain nails into a statement—especially when they feature meaningful symbols like angels, crosses and vintage roses. If you’re new to nail decals, this guide walks you through the vocabulary, tools and a clear step-by-step process so you can apply religious-themed stickers with confidence.
What are these stickers and why choose them?
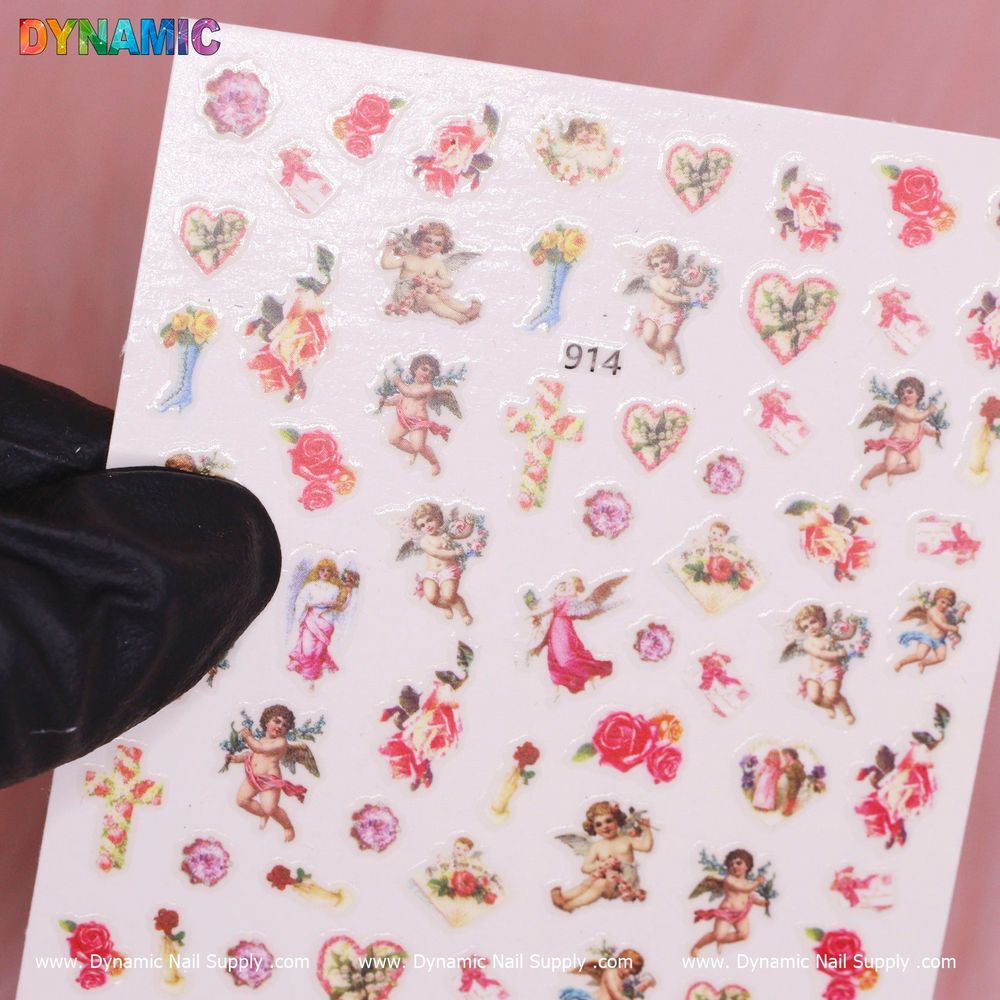
These products are adhesive nail stickers designed for accenting natural nails, polish or enhancements. The sheet for this design includes angel, cross and vintage rose motifs in a compact format, intended for quick placement and layering. They’re ideal when you want a delicate, symbolic look without hand-painting intricate artwork.
Key terms explained
- Decal vs. sticker: “Sticker” here means pre-cut, self-adhesive images you press onto the nail surface; decals sometimes require water or transfer film, but many nail stickers are direct-apply.
- Base: The polish or bare nail the sticker adheres to. A smooth, cured base gives the longest wear.
- Topcoat: A clear finish applied over the sticker to seal and protect the design.
What to expect on the sheet
The sheet’s motifs include angels, crosses and vintage-style roses suitable for single-nail accents or small compositions across several nails. The compact price and format make it easy to experiment with placement, so beginners can try multiple looks before committing to a full set.
Tools and prep — what you need
Gather a few basics before you begin: a clean nail file, buffer, cuticle pusher, rubbing alcohol or nail cleanser, tweezers or a silicone picker, base and topcoat. Start with clean, dry nails: remove oils and lotions so the adhesive sticks well.
Step-by-step: applying Christian nail art stickers
- Shape and clean: File and buff nails to your desired shape. Push back cuticles gently so stickers sit flat on the nail plate.
- Apply base: Paint a base color and cure or dry it fully. For best adhesion, use a smooth, glossy base rather than a textured matte finish.
- Prepare the sticker: Carefully trim any excess film from the motif if needed. Use tweezers to lift the design off the backing.
- Placement: Position the sticker near the cuticle or center of the nail depending on the look you want. Press down firmly from center to edges to remove air pockets.
- Seal it: Apply a generous layer of topcoat over the entire nail, extending to the sidewalls and free edge to lock the sticker in place. Cure or let dry completely.
- Finish: If you wish, add a second topcoat for extra durability. Clean around the cuticle area to remove any stray polish.
Start with a single sheet—check Christian nail art stickers set for a practice pack to get comfortable with placement and sizing before doing a full manicure.
Styling ideas and placement tips
- Accent nail: Use a single angel or cross on the ring finger for a subtle, symbolic accent while keeping other nails neutral.
- French twist: Place a tiny rose at the smile line of a French manicure for a vintage touch.
- Mix and match: Combine a small cross with a tiny rose on the same nail for layered meaning without overcrowding the design.
- Scale and spacing: Trim stickers carefully for smaller nails; less is often more—give each motif room to be seen.
Care, longevity and safe removal
Sealed under a topcoat, stickers typically last several days to a week depending on wear and daily activities. Avoid aggressive scrubbing and long exposure to water when possible. For removal, gently lift an edge with a wooden stick and peel slowly; if adhesive resists, soften it with an oil or standard nail polish remover. Always follow normal nail hygiene and avoid using stickers on damaged or infected nails.
Who these stickers are for
These sheets are aimed at beginners and casual users who want meaningful, vintage-inspired designs without the time or skill required for hand-painting. They’re suitable for at-home mani sessions, quick touch-ups before special events, or as an easy addition to a salon service. Dynamic Nail Supply lists a low-cost option priced around $2.00, making this an affordable way to try religious-themed nail art.
Practical tips that save time
- Work one hand at a time so stickers don’t dry out while you finish the other side.
- If a sticker wrinkles, press it flat and smooth with a gloved fingertip before topcoating.
- Use a fast-drying topcoat if you’re in a hurry—just ensure it’s applied smoothly to avoid streaking the design.
With a little patience and the right prep, angel, cross and vintage rose stickers are a beginner-friendly way to express personal faith and style on the nails. Try a single accent first, seal it well, and build up to more complex arrangements as you gain confidence.