
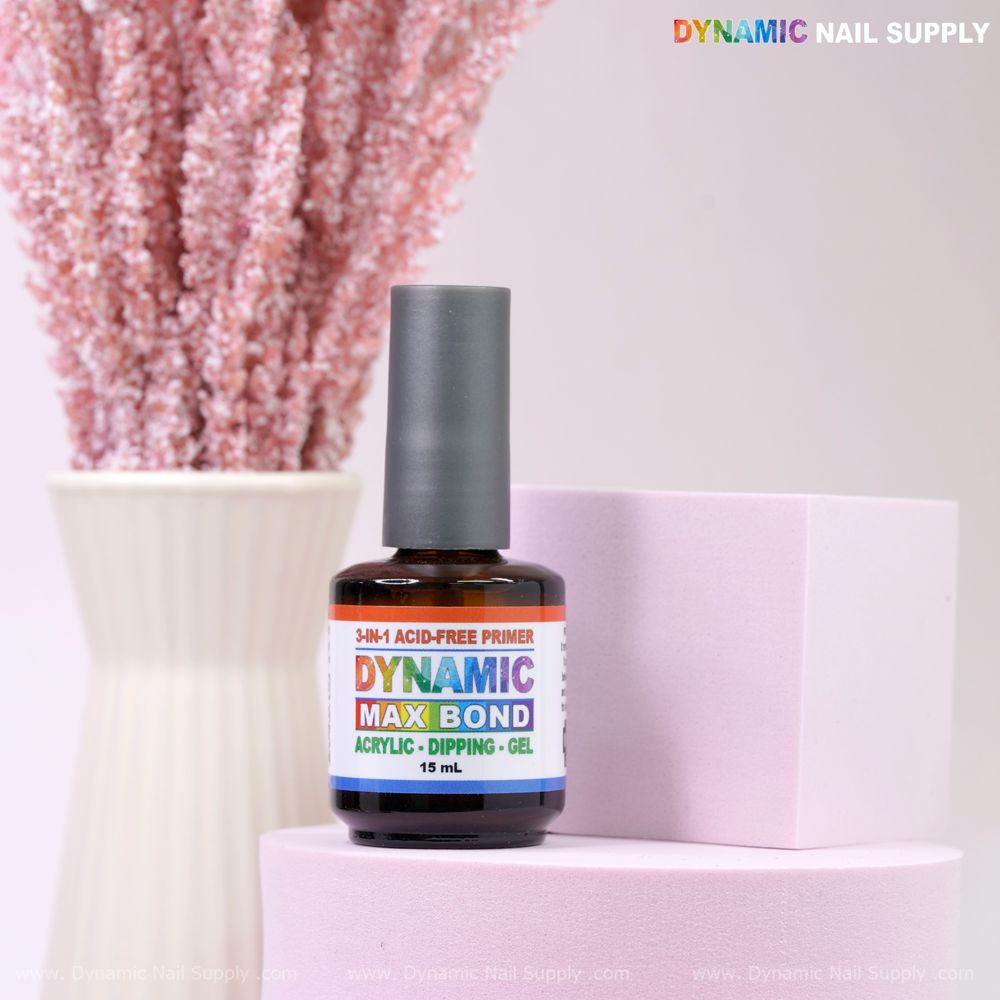
Want your enhancements to last longer and lift less? Switching to an acid-free nail primer can be a simple change that makes a big difference. This guide walks you through why non-acid primers work, how to use one correctly, and pro tips to get consistent, salon-quality adhesion whether you’re working at home or behind the chair.
Why choose an acid-free nail primer?
Acid-free primers are formulated to bond to the natural nail without the aggressive etching action of acid-based primers. That makes them a gentler option for clients with sensitive skin while still creating a reliable base for acrylics, gel polish, hard gels and builder gels. The result is a slightly tacky surface that helps new product adhere without harsh chemistry.
What the product delivers in practice
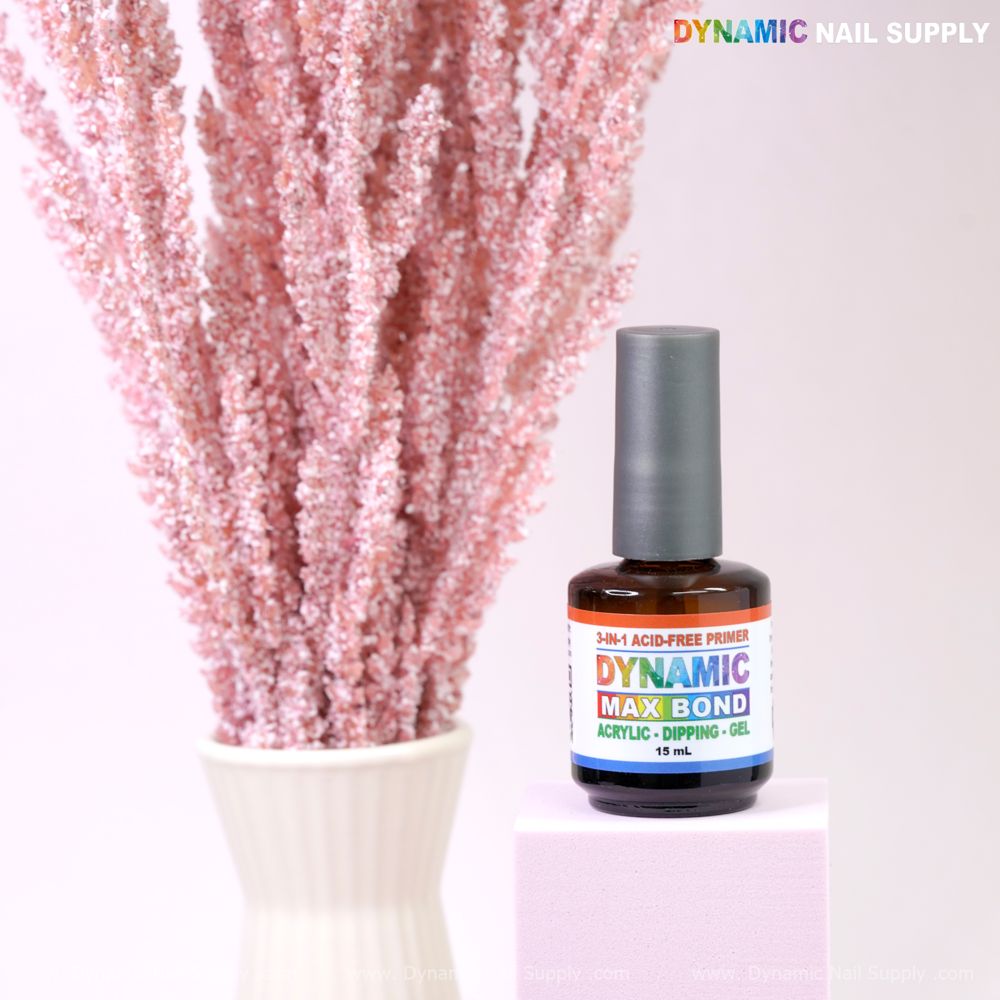
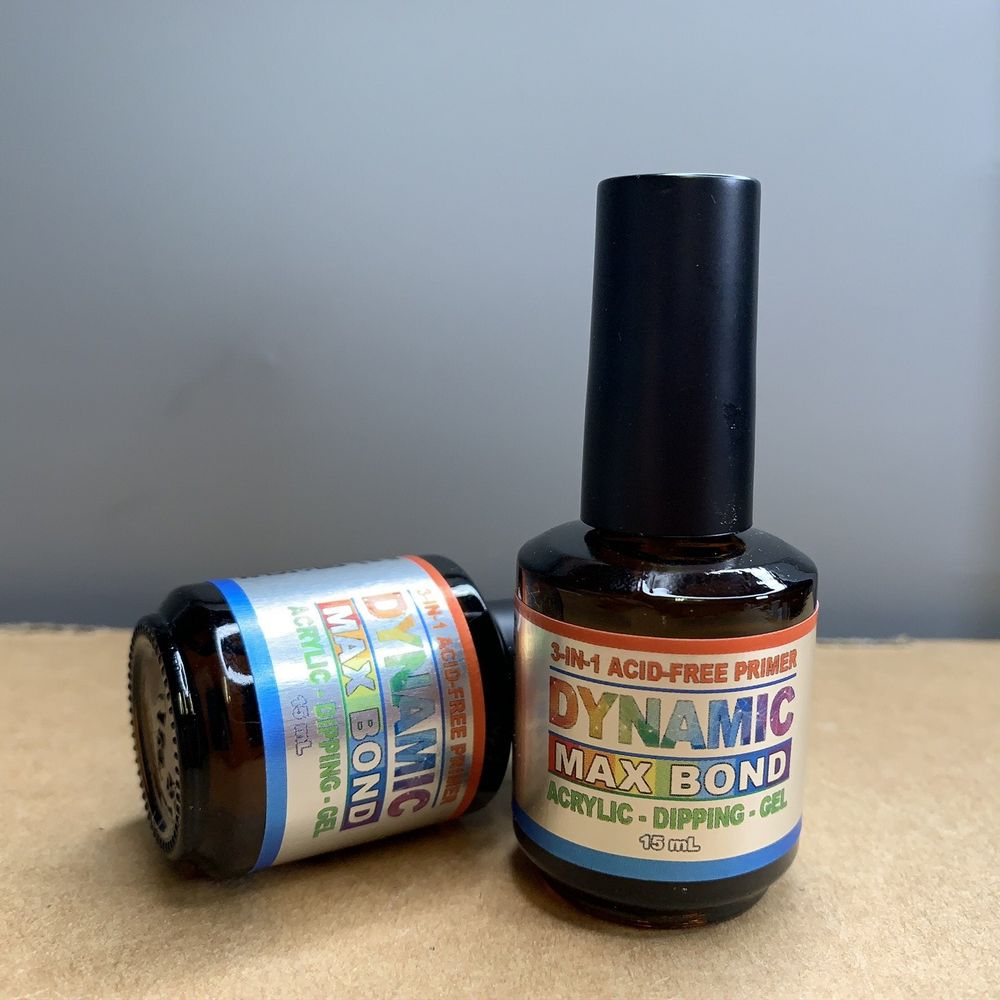
A professional-grade bonding agent in a compact bottle (15ml) is designed to do one job well: create a consistent, sticky layer on the nail plate that your chosen enhancement can cling to. Key benefits to expect during a service include improved adhesion, reduced lifting, and compatibility with multiple enhancement systems. The formula is intended to be used after a proper dehydration step and before product application.
Step-by-step application for professional results
- Prep the natural nail: Push back cuticles and gently buff the nail plate to remove shine and smooth ridges. Use a 180-grit file when preparing for acrylic or gel systems.
- Clean the surface: Remove dust and debris from all nail surfaces.
- Dehydrate: Apply a nail dehydrator to eliminate oils and ensure the primer bonds directly to keratin.
- Apply the primer: Using a thin layer, brush the primer onto the natural nail plate. Avoid letting it touch cuticles or surrounding skin.
- Wait briefly: Let air dry for about 10 seconds—the nail should retain a slight tack that acts as an anchor for your overlay.
- Proceed with enhancements: Apply acrylic, gel polish, hard gel or regular polish as your service requires.
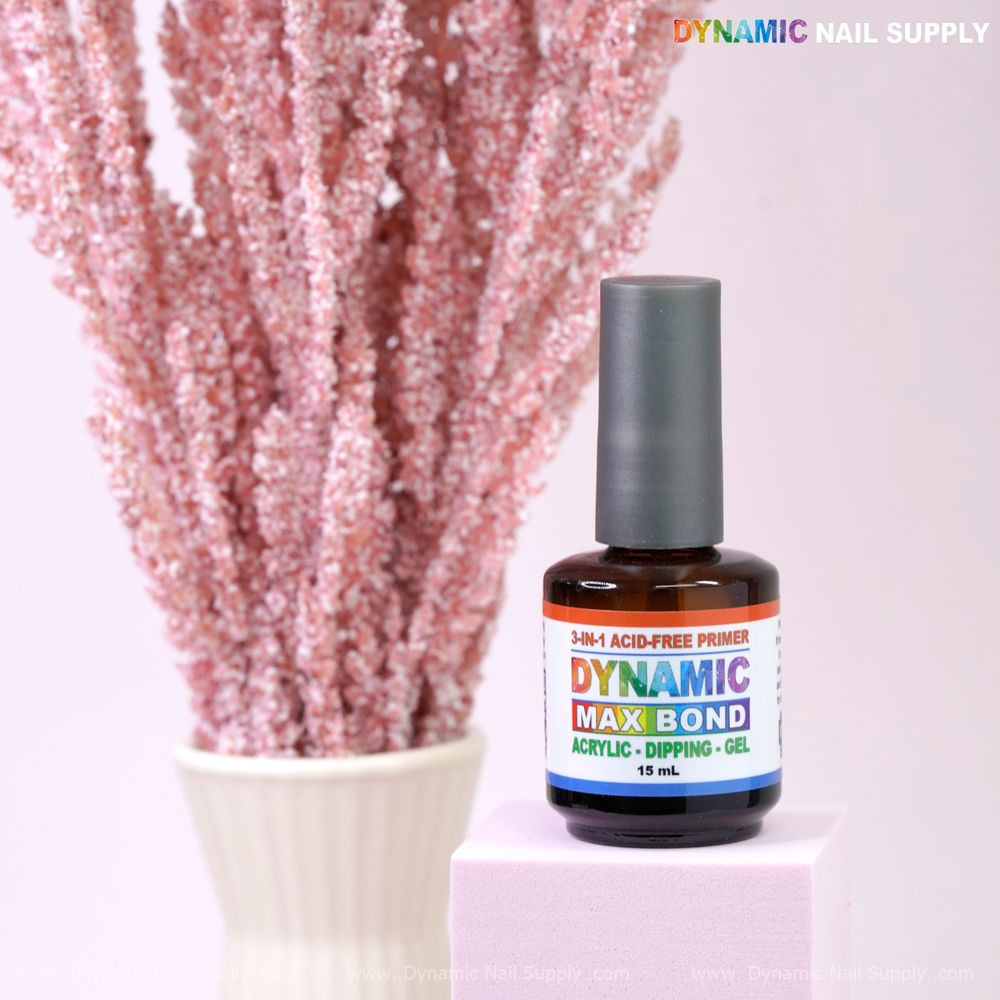
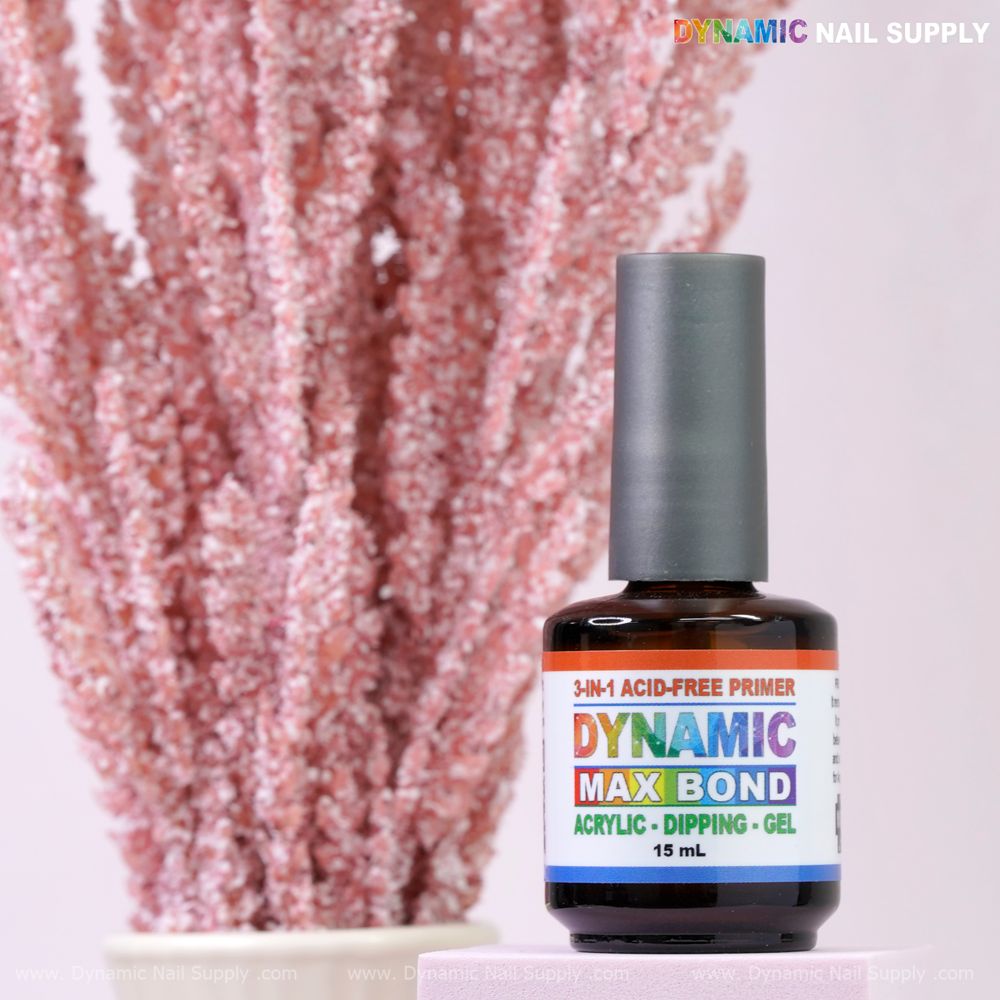
For a compact workstation or starter kit, keep a dedicated bottle on hand; for example, the primer 15ml is sized for easy storage and frequent use.
Pro tips: small adjustments that make a big difference
- Thin layers beat thick layers: Excess product pools and can cause lifting. One thin, even swipe is better than multiple heavy coats.
- Avoid skin contact: Primer on skin can irritate and will interrupt adhesion. If skin is reached, wipe it off immediately and reapply to the nail plate only.
- Match prep to system: Heavily buffed nails need less dehydrator; a lightly buffed plate may require a couple of swipes to ensure dryness.
- Work quickly but deliberately: The tacky window is short—have your product ready so you can proceed without delay.
- Use a cap-off technique: When applying gel polish, cap the free edge to pair the primer’s adhesion with a sealed finish for longer wear.
Common mistakes and how to avoid them
- Over-buffing: Removing too much natural nail weakens the surface. Strike a balance: create texture but preserve keratin.
- Skipping dehydration: Oils prevent bonding. Even when nails look clean, a proper dehydrator step is essential.
- Using too much primer: Thick application equals poor adherence and potential peeling. Thin and even is the rule.
- Applying to wet nails: Make sure nails are fully dry after dehydration—moisture undermines bonding.
Who should use an acid-free primer?
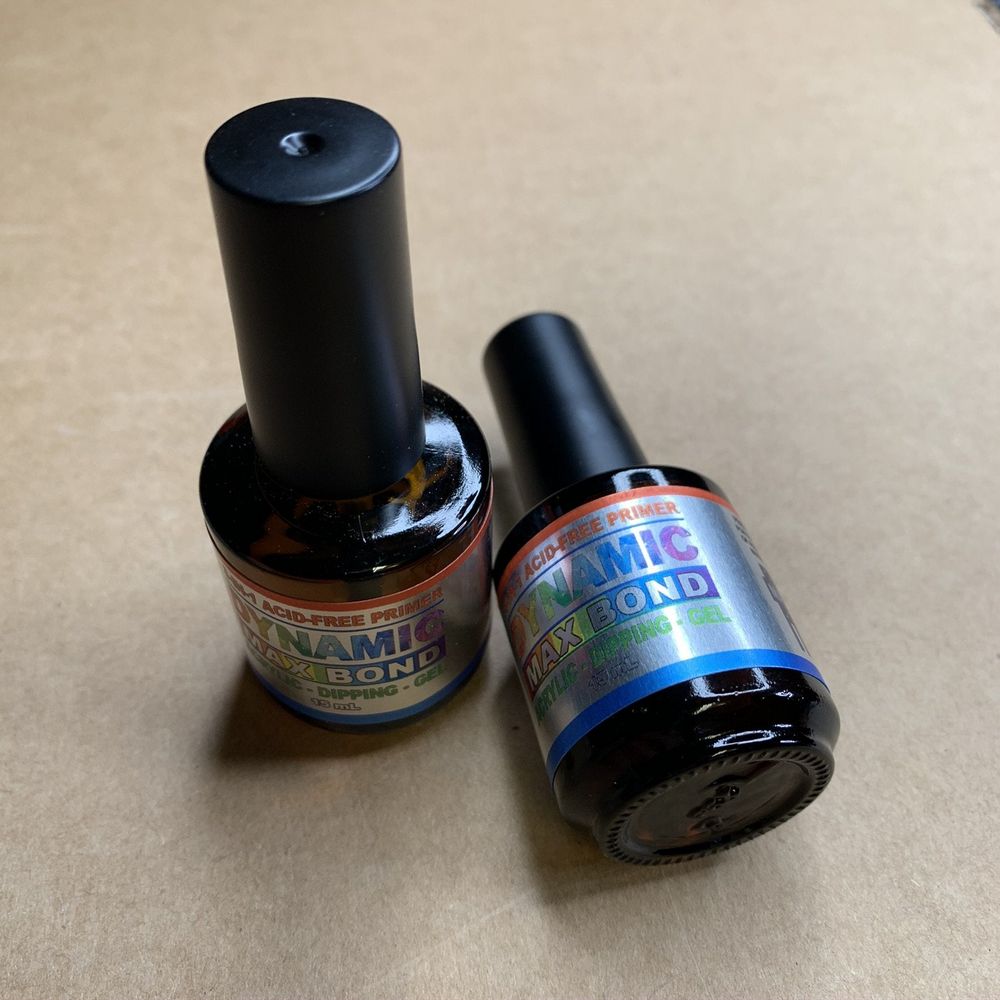
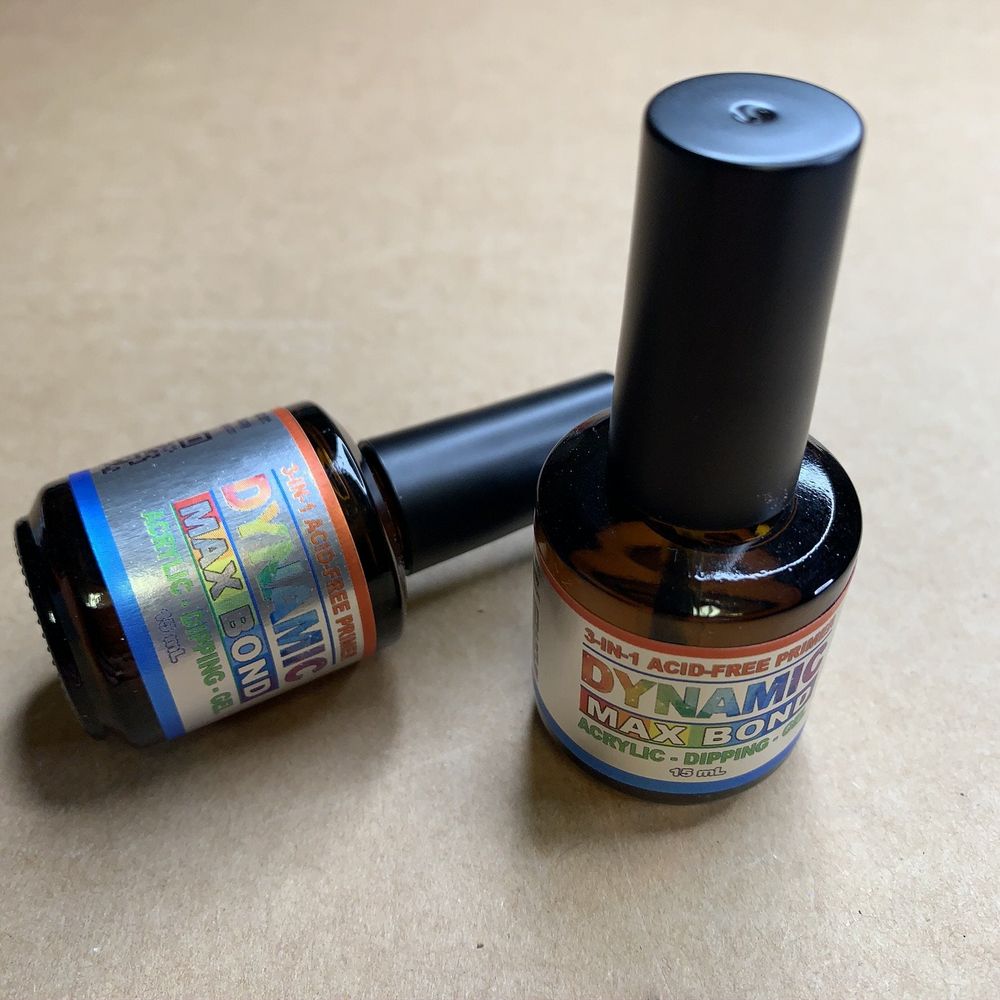
Technicians and at-home users who want strong adhesion without the aggressiveness of acid primers will find this option appealing. It’s particularly suited to clients with sensitivity to traditional primers, those prone to lifting, and anyone seeking compatibility across systems—acrylics, gels, builder gels and even regular polish. A 15ml size makes it convenient for both salon stations and mobile technicians.
Care, safety, and compatibility notes
- Skin test recommended: Before first use, test on a small area; discontinue use if irritation occurs.
- Avoid cuticle contact: Primer should remain on the nail plate only to reduce the risk of irritation and poor adhesion.
- Compatible with major brands: Because it functions as a bonding layer, this type of primer is typically used alongside a variety of enhancement systems.
- Storage: Keep the bottle capped tightly and store upright in a cool, dry place to preserve performance.
Conclusion: simple steps, salon-grade results
When used correctly—proper prep, a thin application, and timely product placement—an acid-free primer can noticeably reduce lifting and extend wear. It’s a practical choice for sensitive clients and a flexible tool for technicians who switch between acrylics, gels, and polish. For those building a reliable kit, this compact primer offers professional adhesion in a travel-friendly size. If you’re stocking essentials, consider picking one up from Dynamic Nail Supply to round out your prep station; the MSRP is listed at $5.00 but may vary.
Short checklist before service: push back cuticles, buff lightly, apply dehydrator, thin primer layer, wait ~10 seconds, apply enhancement.