
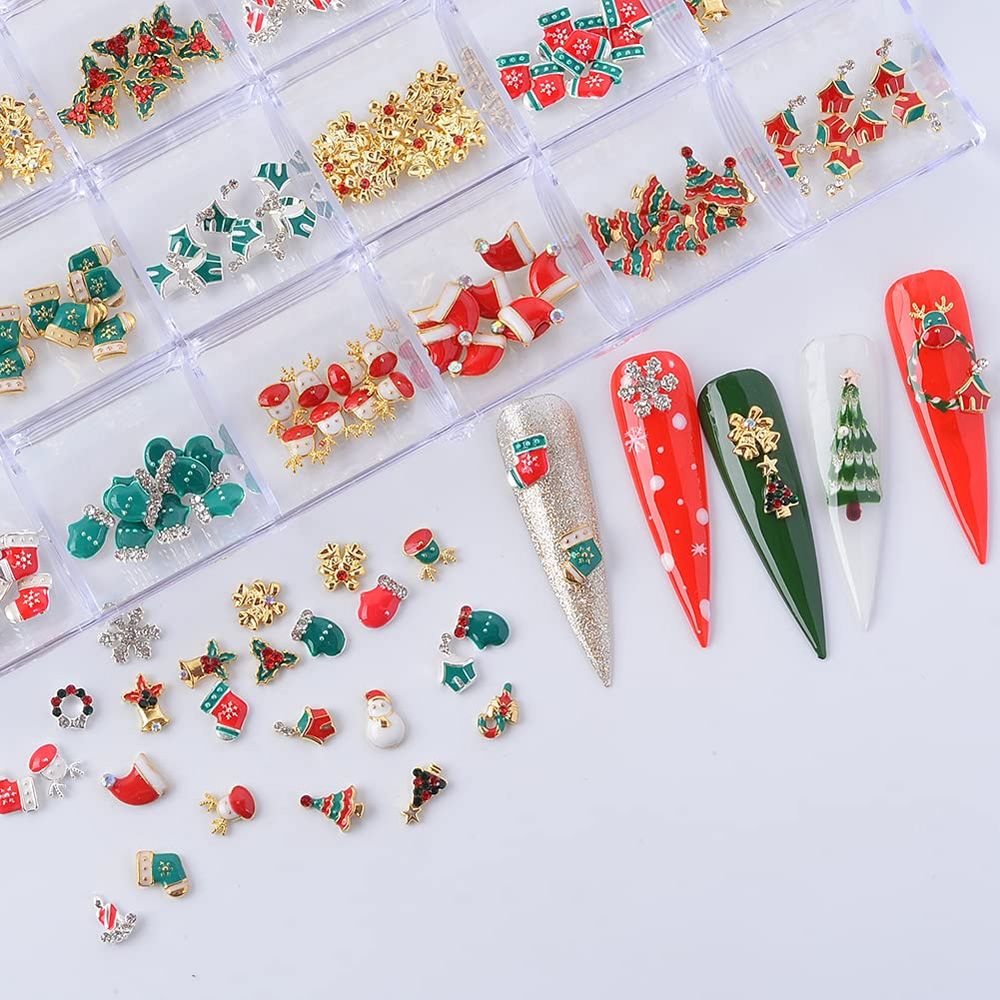
Want to add instant holiday sparkle to your manicure but not sure where to start? A Christmas nail charms set gives you ready-made festive accents — tiny motifs you can place on polish, gel or tips to create ornaments, wreaths, bows and more. This guide breaks down the kit contents and walks a beginner through each step so you get professional-looking results at home.
What’s in the box — plain facts
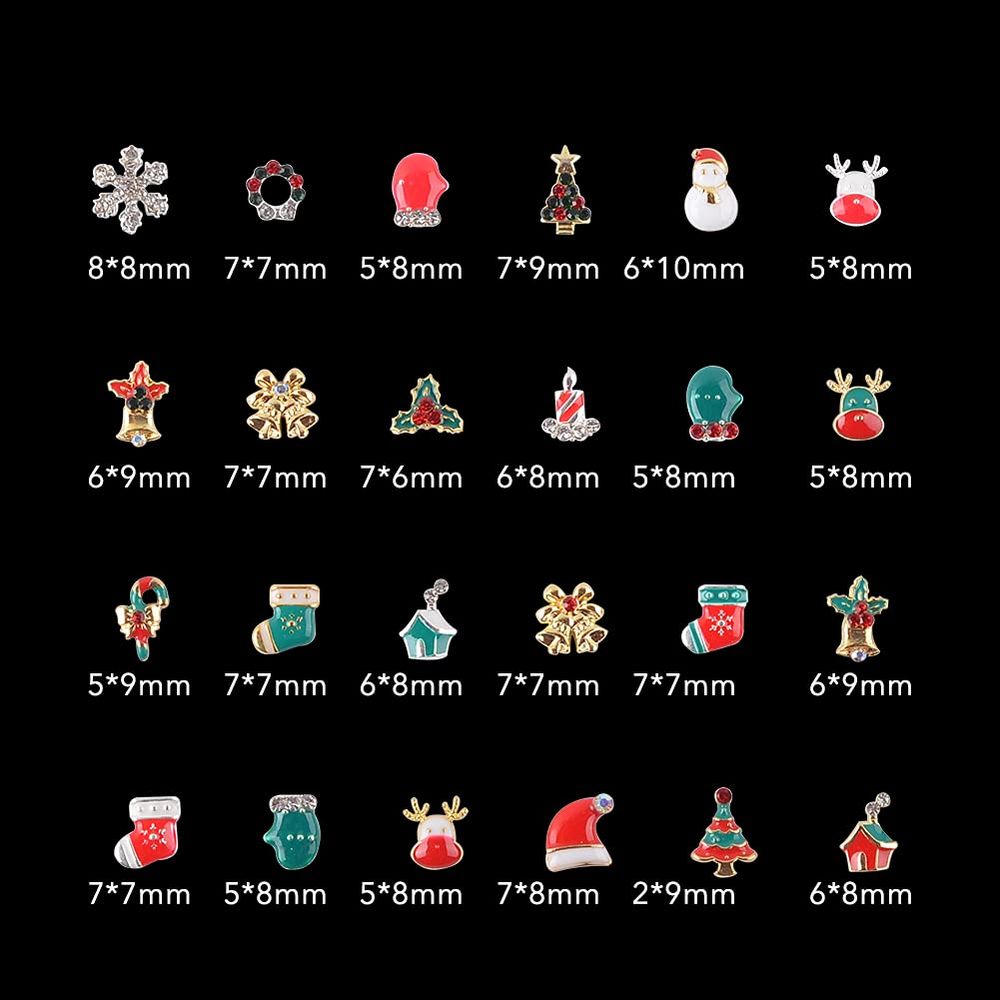
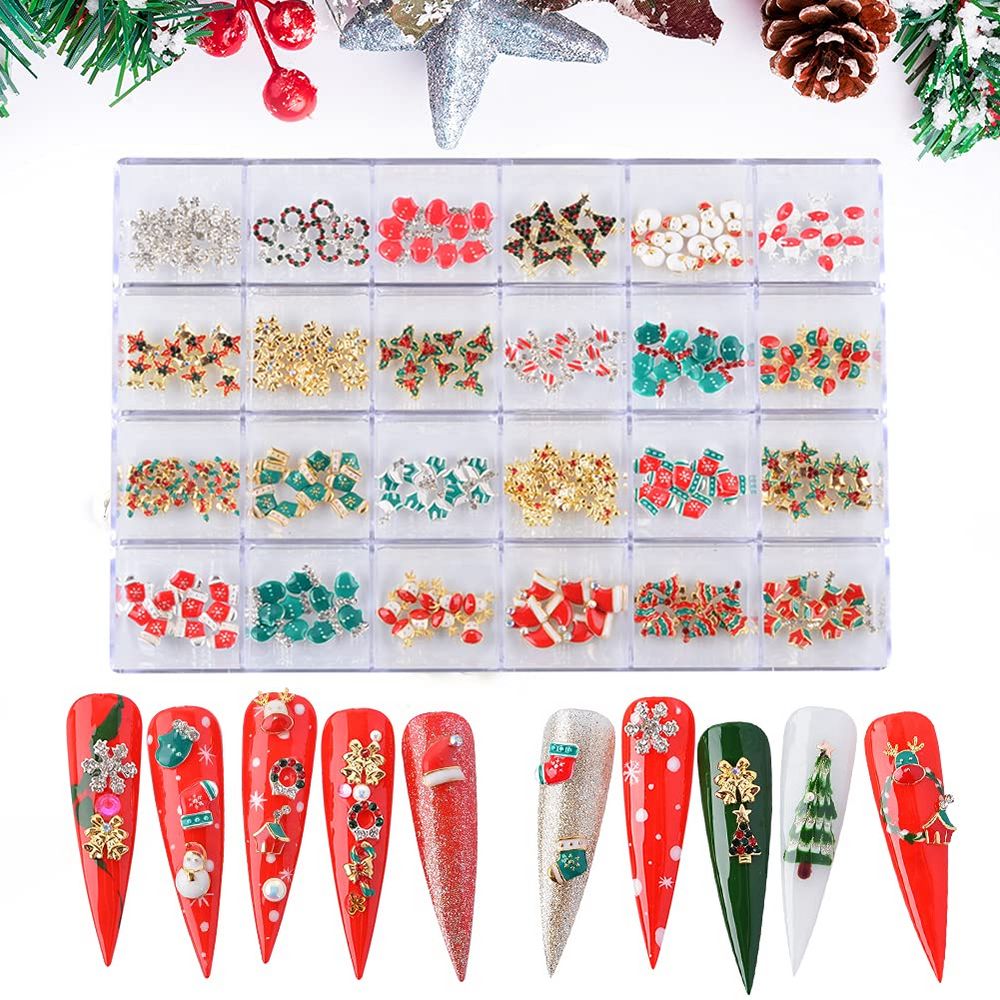
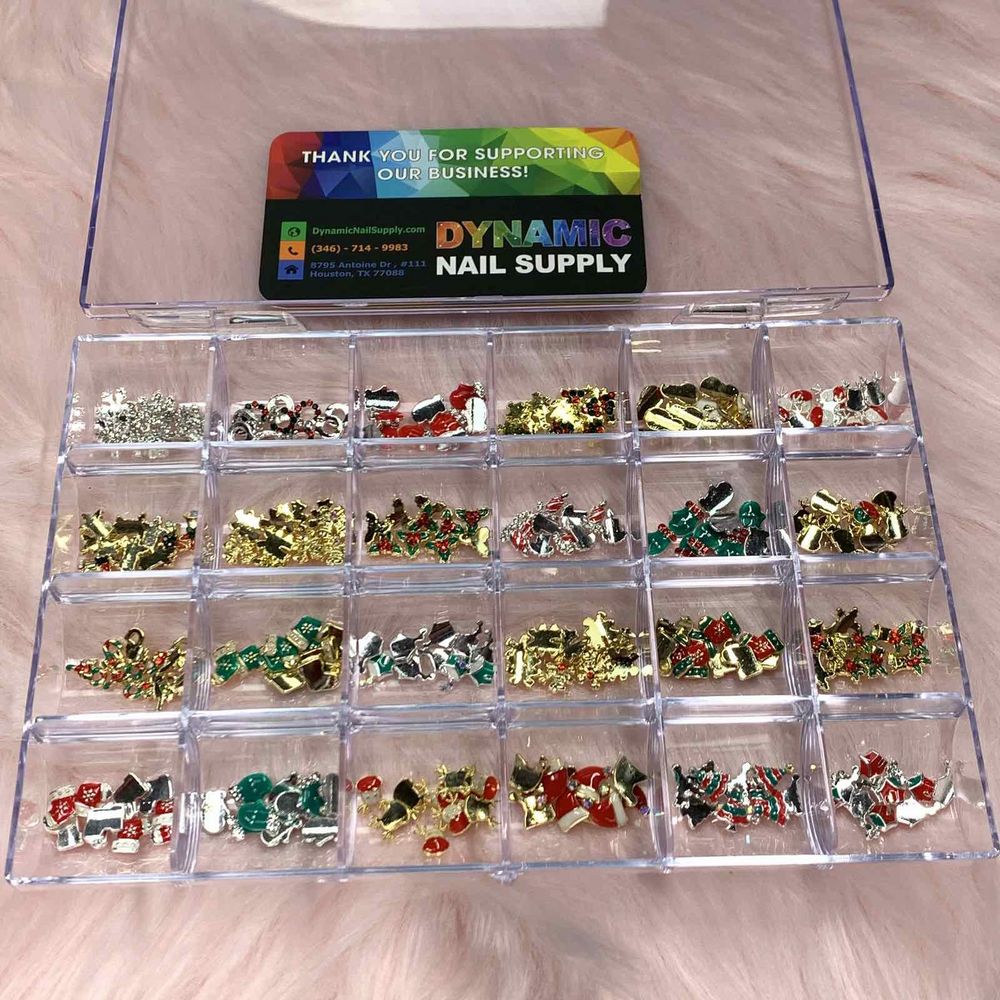
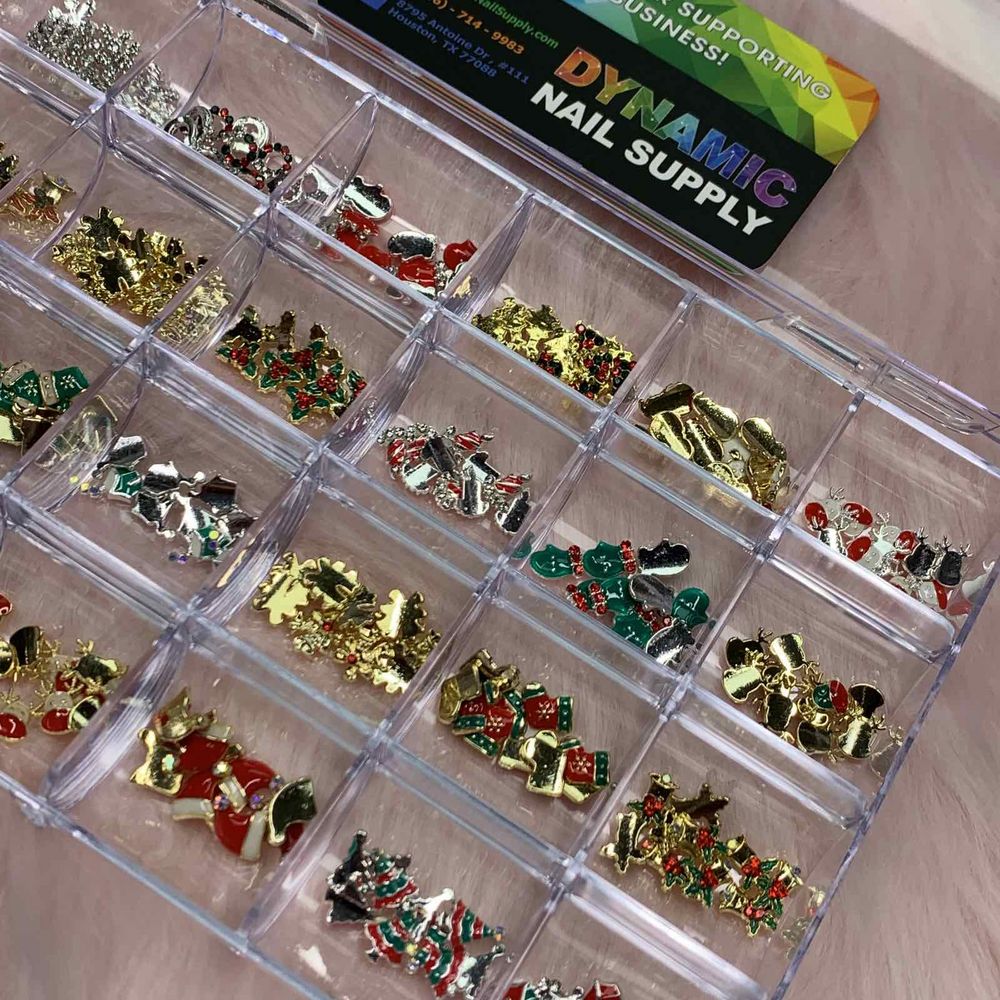
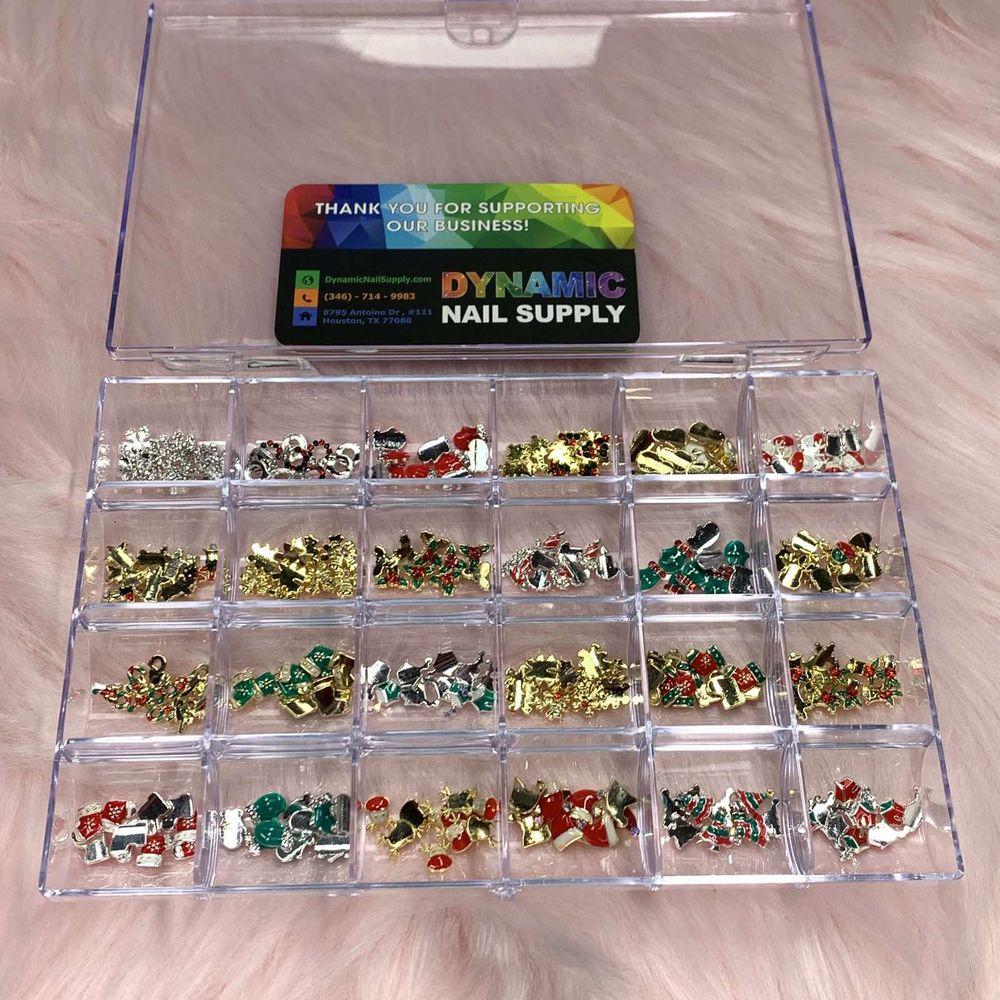
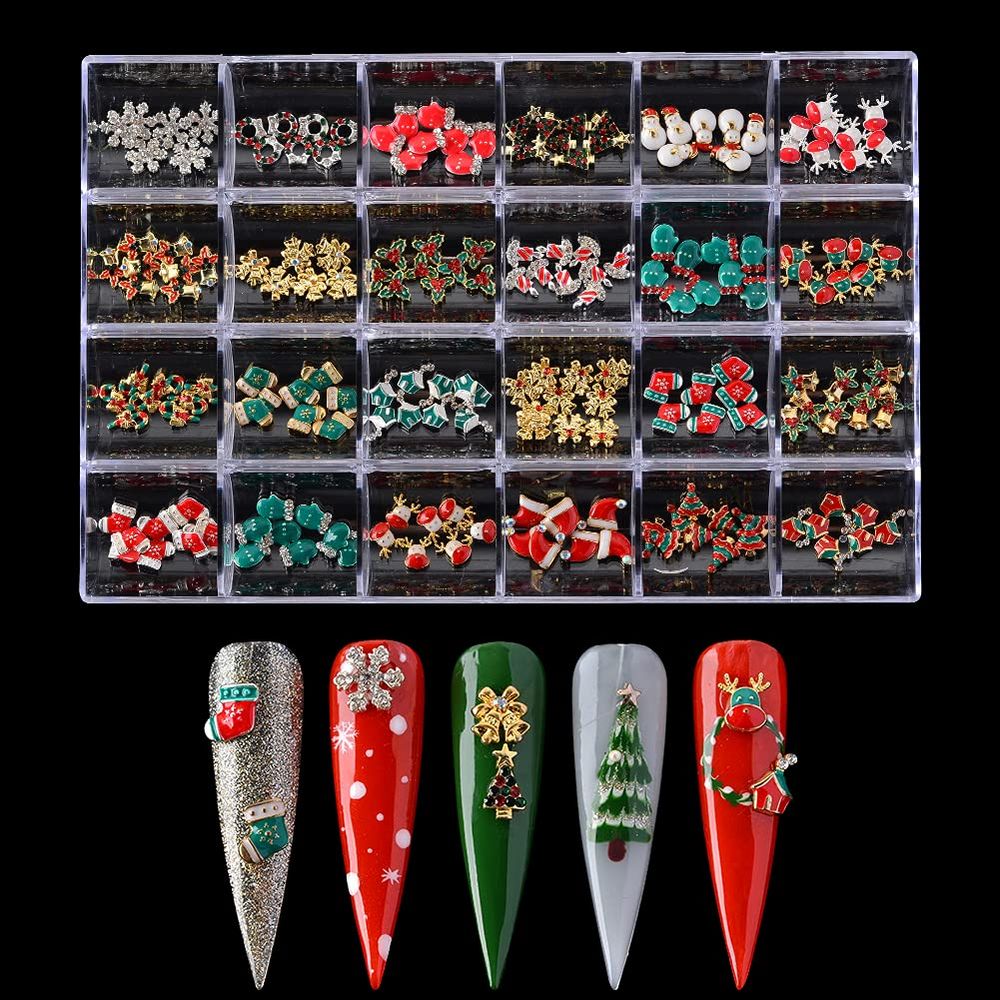
This kit contains 240 pieces of red-themed nail charms arranged as multiple tiny decorative shapes. The updated 2024 edition includes 24 different shapes with 10 pieces of each shape, giving you plenty of repeats for full sets or multiple clients.
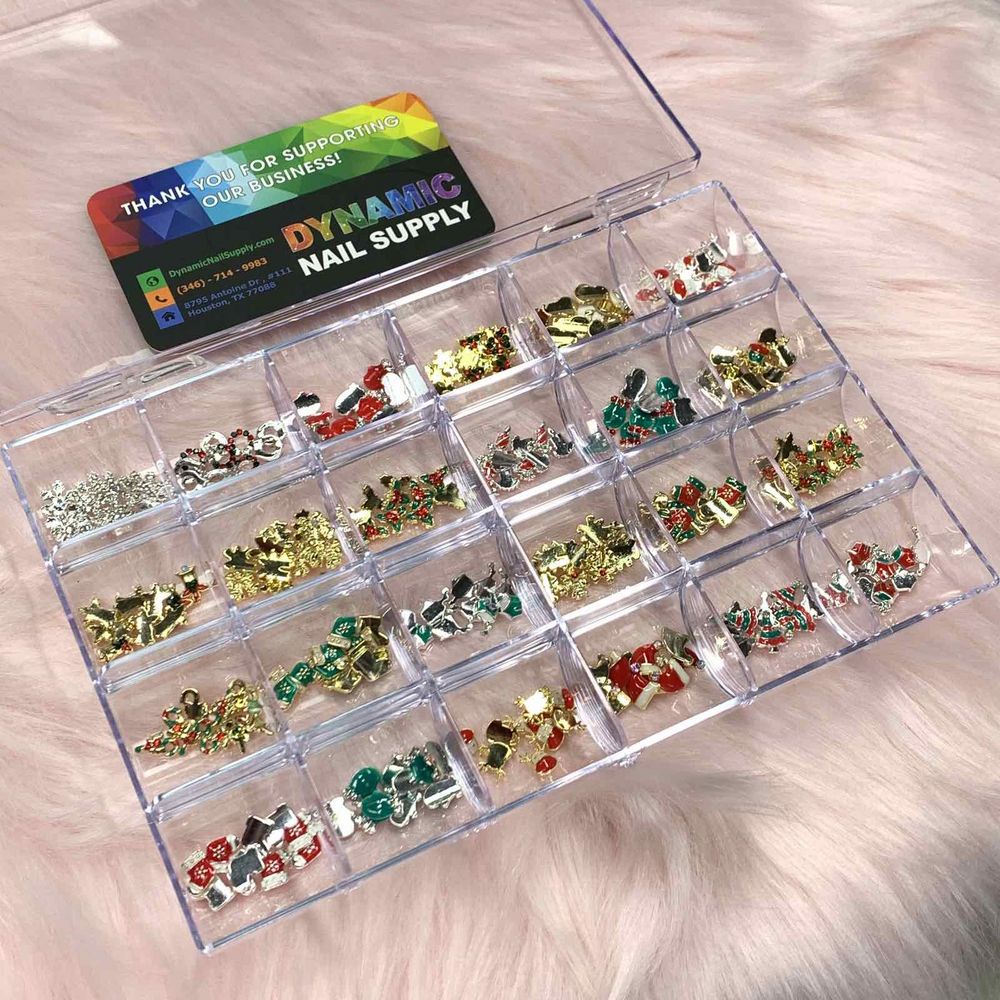
To check availability and order, view this Christmas charms set. Priced at $27.94 (price may change), the set is supplied through Dynamic Nail Supply.
Key terms a beginner should know
- Charm: A small decorative element made for nails — can be shaped like stars, bows, trees or other motifs.
- Flatback: A flat underside designed to sit flush on the nail surface (the product tags include “Flatback Rhinestones”).
- Placement: The act of positioning a charm on the nail before sealing it with adhesive or top coat.
Step-by-step application for beginners
- Prep the nail: Start with clean, dry nails. Remove oils with a gentle nail cleanser or rubbing alcohol so adhesive bonds well.
- Choose a base: Charms look best on a cured gel, lacquer or a tack-free top layer. Pick a background color first — red or contrasting tones work especially well for holiday motifs.
- Select your charm: Pick one of the 24 shapes you like. For balanced looks, use odd numbers (1, 3, 5) of charms per nail depending on nail size.
- Apply adhesive: Use a tiny dot of nail glue, builder gel, or a tacky layer of clear gel to set the charm in place. Work one nail at a time so the adhesive stays workable.
- Place carefully: Use tweezers or a wax pencil to position the charm. Press gently so the flatback sits flush against the nail surface.
- Seal the edges: Brush a thin rim of top coat around the base of the charm to lock the edges. For gel users, cure according to your lamp instructions; for polish users, allow ample drying time.
- Final finish: Add another thin top coat over surrounding nail area (avoid excessively thick coats over the charm unless specified by your bond method).
Practical tips to avoid common beginner mistakes
- Work on one nail at a time to avoid rushed placement and smudging.
- Don’t overuse glue — a small amount on the nail or the charm is usually sufficient.
- Match charm size to nail size: use tiny motifs for short nails and larger shapes for long nails or tips.
- Keep a toothpick or silicone tool on hand to nudge the charm into its final position without touching adhesives.
Design ideas for holiday manicures
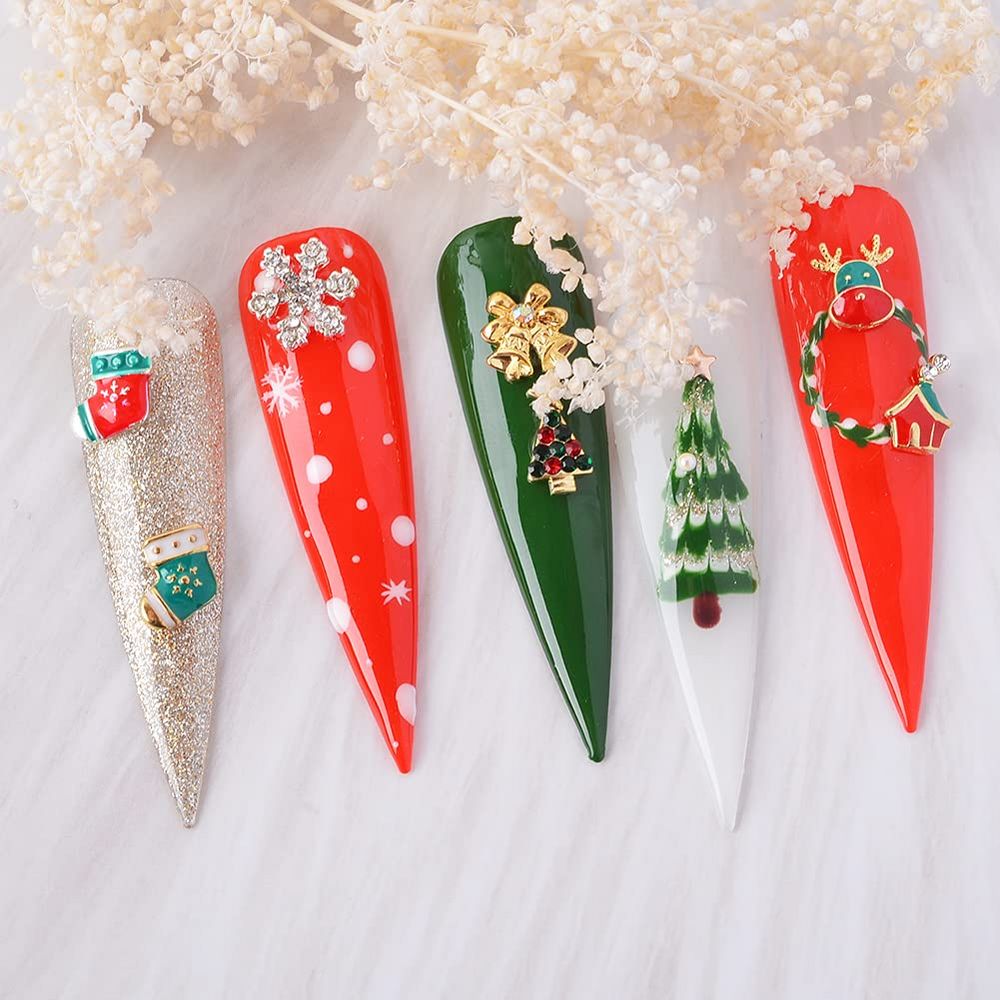
Because the set centers on red charms and multiple shapes, you can create cohesive looks across both hands or mix-and-match. A few simple concepts:
- Scattered sparkle: Place single charms on an accent nail and dot with metallic studs for a minimalist holiday look.
- Mini ornaments: Use several small charms down the center of longer nails to mimic hanging ornaments.
- Mismatched set: Put a different shape on each nail for a playful, whimsical holiday theme that still reads as a set.
Care, removal and safety notes
- When removing charms, avoid prying forcefully. Soak in polish remover or use the appropriate gel soak-off method for built-up systems to loosen edges first.
- After removal, gently buff and hydrate the nail plate with oil to restore moisture.
- If you experience irritation while wearing any nail accessory, remove it and consult a professional. Always perform a small test if you’re unsure how your skin will react.
Who this set is best for
This 240-piece Christmas nail charms set suits nail students, home hobbyists building a seasonal stash, and nail technicians who want a ready assortment for holiday looks. The quantity and variety allow both single-use accenting and small salon services without immediate restocking.
With a little practice and the right adhesive technique, beginners can achieve festive, salon-style results using this updated 2024 charm collection. Whether you’re doing a single DIY manicure or prepping for clients, these small red motifs make holiday designs quick and eye-catching.